


Emergency Lighting Inspection Checklist Form: 5 Sections


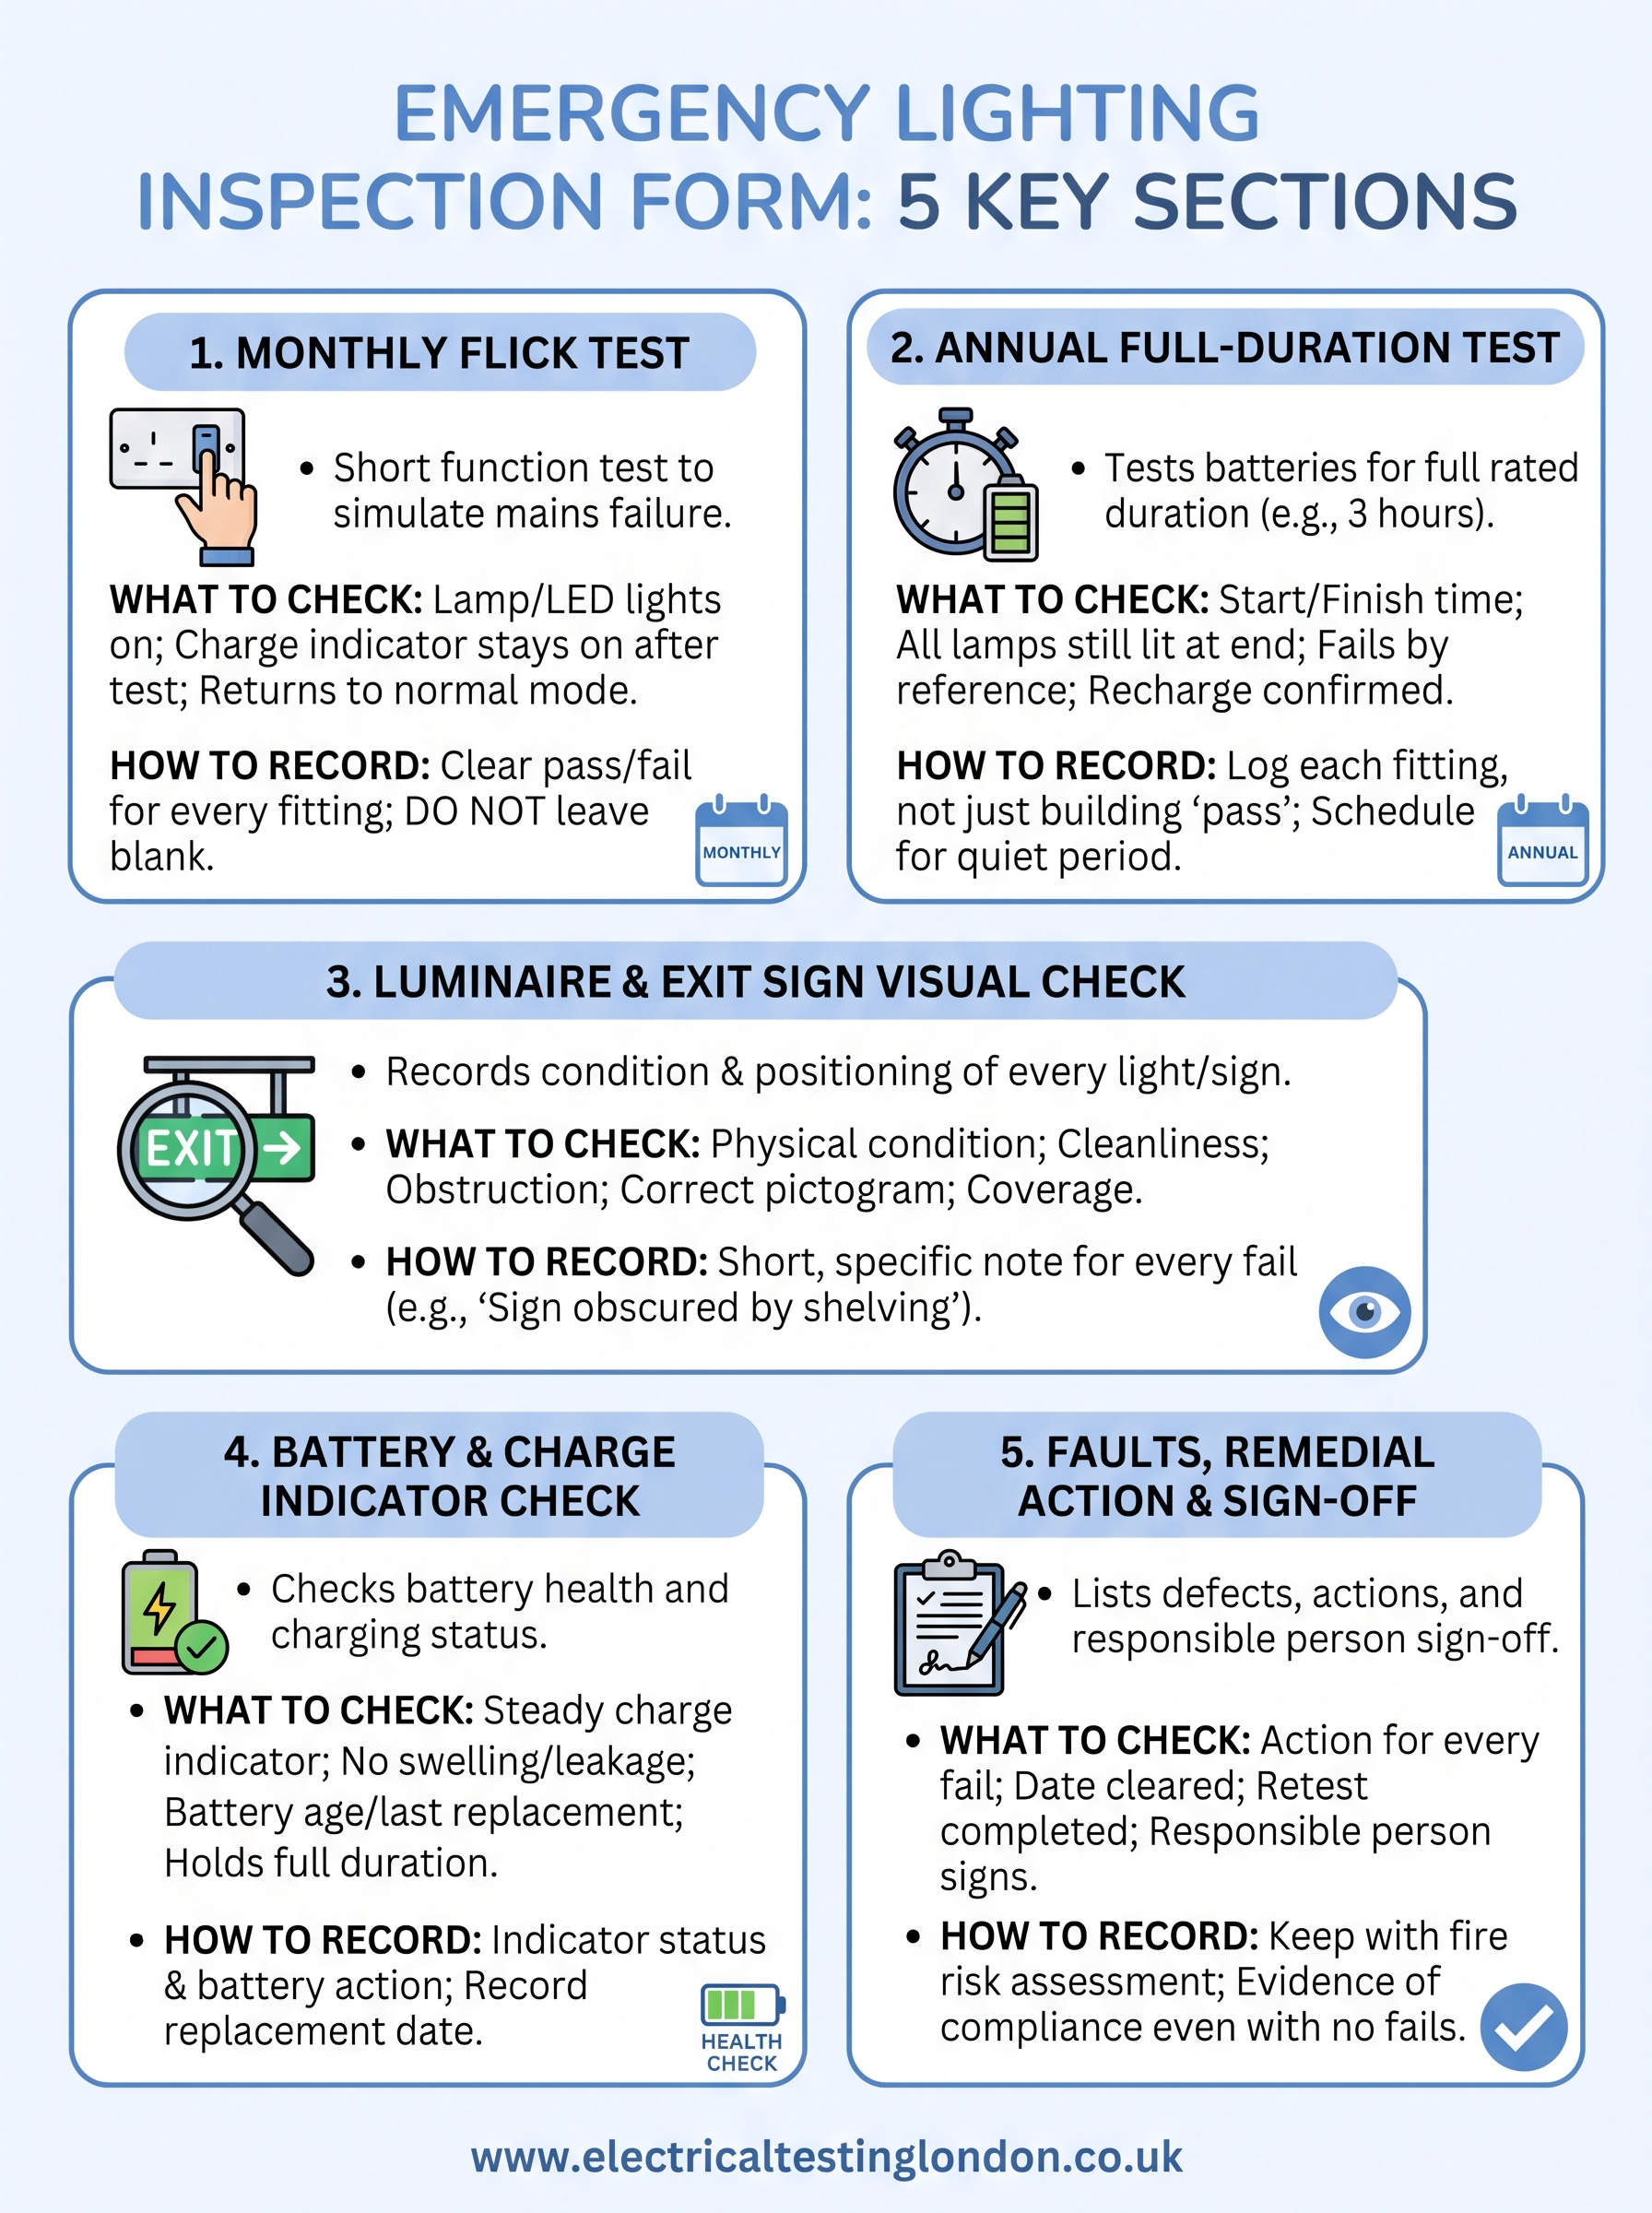
If you need a checklist emergency lighting inspection form, build it from five sections: a monthly flick test, an annual full-duration test, a visual check of luminaires and exit signs, a battery and charge indicator check, and a fault and sign-off record. A form with all five satisfies a fire inspector and backs up your fire risk assessment. Facilities managers will use the monthly section most. Landlords of blocks with communal areas and owners of commercial premises need the annual and sign-off sections just as much.
Emergency lights rarely warn you when they fail. A dead battery or a blown lamp stays hidden until the power cuts out, and an undated or half-filled record cannot show that you tested at all. The fix is a form that is quick to complete and leaves no blank boxes.
Below, each section explains what to check, how to record it and who should do it. Copy the layouts into a document or spreadsheet and print them or fill them in on screen. Electrical Testing London tests emergency lighting across London and the South East.
1. Monthly flick test section
The monthly section records a short function test of every emergency luminaire and exit sign, using the test key or switch to simulate a mains failure. It is the part of your emergency lighting monthly inspection checklist that you will fill in most often.
What to check
Each fitting should switch to emergency mode and light when you operate the test device. It should return to normal when you release it. Keep the test short, then check the charge indicator again.
-
Fitting reference matches the plan or schedule
-
Lamp or LED lights on simulated failure
-
Charge indicator is on after the test
-
Fitting returns to normal mode
-
Date and tester's initials
How to record it
Use one row per fitting or zone, with a clear pass or fail. Record passes as well as failures, because a blank row looks like a missed test. Keep each month's sheet in the same file so the pattern is easy to read.
A monthly test that is not written down did not happen as far as an inspector is concerned.
Who should do it
Under the Regulatory Reform (Fire Safety) Order 2005, the responsible person for non-domestic premises must keep fire safety measures maintained. A trained person on site can run flick tests, or you can hand them to an engineer. Electrical Testing London lists monthly flick tests at £80 on weekdays from 8am to 5pm and £95 on weekday evenings from 5pm to 10pm. These prices are for London and the South East.
2. Annual full-duration test section
The annual section records a test in which every fitting runs on battery for its full rated duration. For most systems that is usually 3 hours. It is the test that proves the batteries can actually carry people out of the building, and it is the one most often skipped.

What to check
Run the test for the rated duration of the luminaires and note whether every lamp is still lit at the end. A fitting that dims badly or goes out early has failed, even if it passed every flick test. Your form needs fields for the start time, end time and the number of failures.
-
Start time and finish time
-
Rated duration of the system
-
Every fitting still lit at the end (yes or no)
-
Fittings that failed, by reference
-
Recharge confirmed
How to record it
Log the result against each fitting, not as a single "pass" for the building. Most guidance suggests allowing about 24 hours for batteries to recharge, so note when the system was back to full charge. Schedule the test for a quiet period, because the escape lighting is depleted while it recharges.
The annual duration test is the one that proves your batteries, so give it its own section on the form.
Who should do it
Use a competent engineer, who should issue a certificate for your file. Electrical Testing London prices the annual 3 hour test at £199 on weekdays from 8am to 5pm and £249 on weekday evenings from 5pm to 10pm. It issues an emergency lighting test certificate with the work.
3. Luminaire and exit sign visual check
This section records the condition and positioning of every light and sign. Some faults only show up by eye: a sign blocked by stock, a luminaire painted over, a new partition that now shades an escape route.
What to check
Walk the escape routes in the direction people would leave. Check each item in the table.
|
Check |
What a pass looks like |
|---|---|
|
Physical condition |
No cracks, loose fixings or missing covers |
|
Cleanliness |
Diffuser clean, no dust or paint on the lens |
|
Obstruction |
Nothing blocks or hides the fitting or sign |
|
Exit sign legend |
Correct pictogram and arrow for the route |
|
Maintained signs |
Lit at all times when the premises are in use |
|
Coverage |
Stairs, exits and changes of direction still lit after layout changes |
How to record it
Write a short note for every fail, with the location and a description such as "sign obscured by shelving". Plain wording helps whoever picks up the fault later. A vague note like "check unit" tells nobody what to fix.
A light that works but cannot be seen is still a failed escape light.
Who should do it
Anyone trained can complete the visual check during the monthly round. Layout changes, such as new rooms, partitions or moved exits, should go to a competent person, because the lighting design may need updating.
4. Battery and charge indicator check
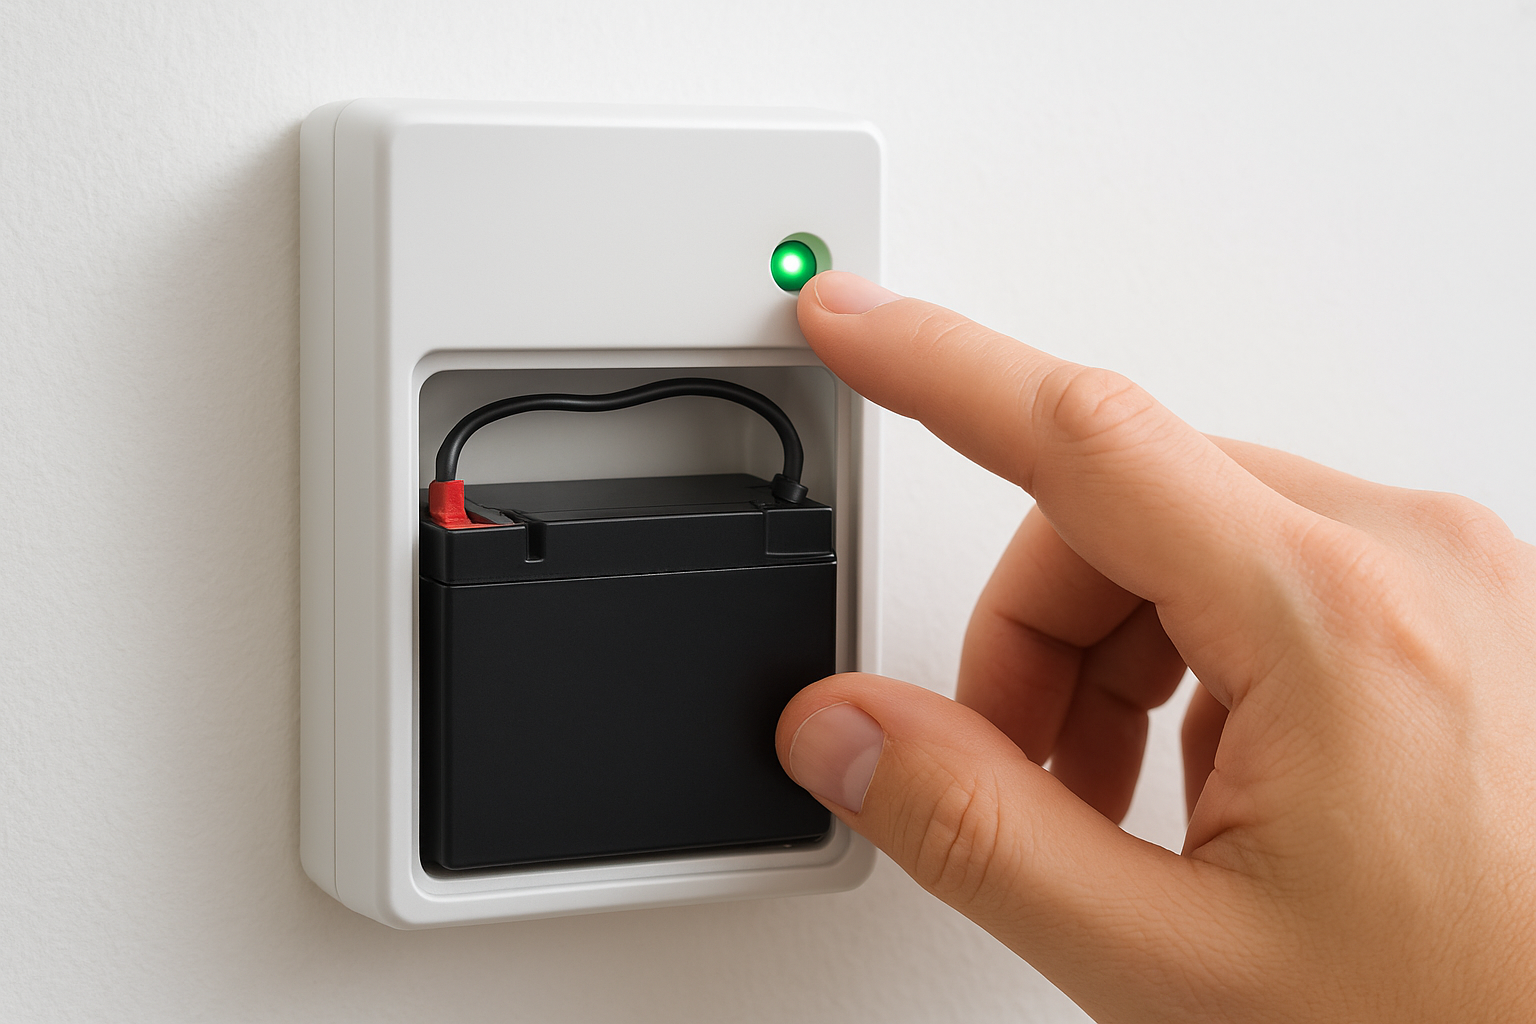
This section records whether each unit's battery is healthy and charging. The charge indicator, usually a green LED, tells you the unit has mains power and is charging. It does not tell you the battery will last 3 hours.
What to check
Look for a lit, steady charge indicator on every self-contained unit. At the annual test, note any unit that fails to hold its rated duration. Replace its battery or the unit.
-
Charge indicator on and steady
-
No swelling, leakage or corrosion
-
Battery age or last replacement date, if known
-
Unit held its full duration at the annual test
-
Replacement fitted and retested
How to record it
Add two columns to your form: indicator status for the monthly round and battery action for the annual test. Record the replacement date, so you can plan battery changes before they fail. Batteries wear out over several years, so follow the manufacturer's guidance for each model.
A lit indicator shows a unit is charging, not that it will last the full duration.
Who should do it
Anyone can read an indicator. Battery replacement and any wiring or control gear work should be done by a competent electrician, who should retest the unit afterwards.
5. Faults, remedial action and sign-off
The last section turns test results into a record that stands up to a fire inspection. It lists each defect, what you did about it, when it was cleared and who signed it off. It is also the part of the form that shows the responsible person is acting on test results.
What to check
Before you sign, check that every fail has an action against it and every action has a date. Check also that the failed fitting has been retested. Use this layout as a starting point.
Premises:
Address:
Responsible person:
System type (self-contained / central battery; maintained / non-maintained):
Test type (monthly flick / annual full-duration):
Date and time started:
Tester name and company:

Fitting ref | Location | Lamp lit (Y/N) | Charge indicator (Y/N) | Exit sign OK (Y/N) | Duration met (Y/N) | Fault found | Action and date cleared | Initials

Defects outstanding:
Retest completed on:
Signed (responsible person):
Date:
How to record it
Keep the completed forms, plus any annual test certificate, with your fire risk assessment. A fire inspector may ask to see them. Keep records even when nothing fails, because a clean run of monthly sheets is your evidence of compliance.
A defect with no date against it is a defect you cannot prove you ever fixed.
Who should do it
The responsible person signs off, even when an engineer did the testing. If you use self-testing luminaires, still review the fault reports and sign the results. Automatic testing speeds up the checks but does not replace your responsibility for the record.
Keep the form simple and fill it in every time
A good emergency lighting inspection form is short, repeatable and complete. Use one row per fitting and record every result, passes included. Keep the annual duration test, the visual check, the battery check and the sign-off as separate sections, so nothing is lost inside a general "pass".
If you would rather have an engineer run the tests and issue the certificate, Electrical Testing London covers monthly flick tests and annual 3 hour tests across London and the South East. You can get a quote for emergency light testing.

